Wild About Art: A Guide to 10+ Camp Crafts
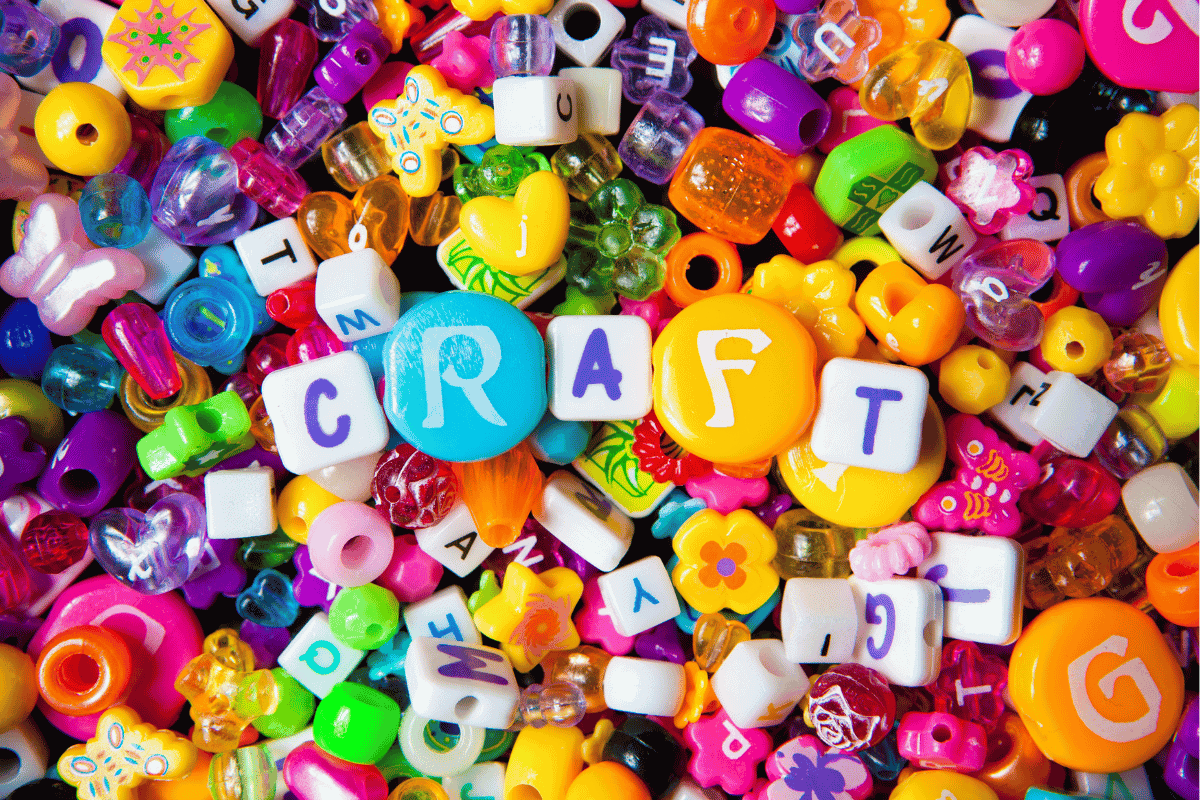
When you’re adventuring in the great outdoors, it’s always nice to have a little downtime. Whether you have crafty kids or even just want a little crafting time for yourself, here are some easy camp crafts you can plan to spark your creativity!
*As an Amazon affiliate, we earn from qualifying purchases.
Gimp (Boondoggle)
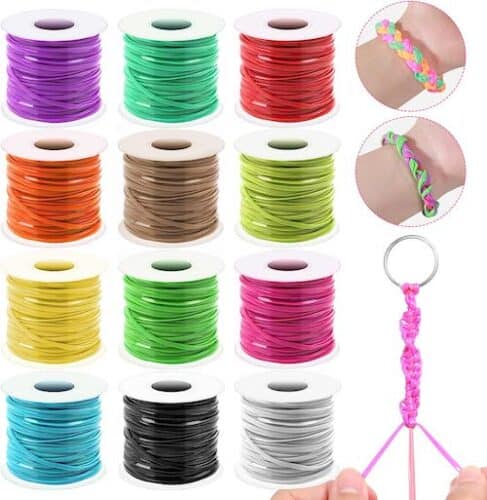
If you didn’t make gimp when you were a kid, then you missed out. They were one of the best summer camp crafts because they were so portable! These colorful accessories, made from plastic lacing cords, are a classic activity that requires very few materials. Seriously, all you need is the plastic cording. Here’s an easy tutorial for the classic “box style” gimp.
Painted Rocks
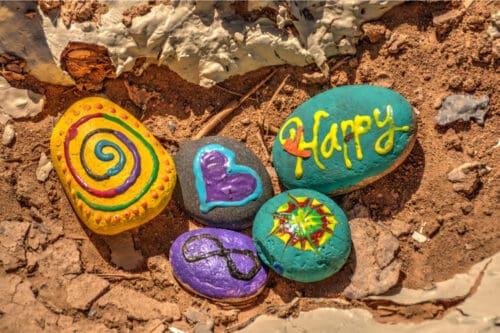
If there’s one thing you can rely on to find in nature, it’s rocks. They’re everywhere. I like to think of them as nature’s canvases. The best way to approach painting rocks is by picking a theme. You could paint encouraging messages, little animals, or even just abstract patterns! Use this puff paint to achieve a 3-D effect.
Nature Suncatchers
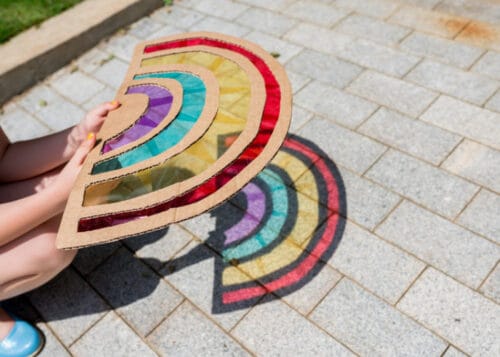
Suncatchers are easy-peasy camp crafts for kids, and they look awesome displayed in your windows at home. Start by collecting various natural materials such as leaves, flowers, feathers, or small branches. Look for items that are colorful and have interesting shapes and textures. You could also just use different transparent colored paper.
Cut two identical shapes out of clear contact paper. Peel off the backing from one of the shapes and place it sticky-side up on a flat surface. Arrange your natural materials on the sticky surface, creating a design or pattern that you like. Once satisfied, carefully peel the backing off the second contact paper shape and place it sticky-side down over the materials, sandwiching them in between.
Press the contact paper shapes together firmly, smoothing out any air bubbles or wrinkles. Trim any excess contact paper around the edges, leaving a small border. Finally, punch a hole near the top edge of the suncatcher and thread a string or ribbon through it for hanging. Find a sunny spot to display your suncatcher and enjoy!
Water Pistol Painting

This one might be best for the older kids, and you might have some adults who want to give it a try too. Who could blame them?
Start by gathering a few squirt guns or water pistols and diluting washable tempera or watercolor paints with water. Pour the diluted paint into the pistols, one color per pistol. Set up a large canvas or sheet of heavy paper outdoors or in a designated painting area. Make sure to protect the surrounding area with a tarp or newspaper.
Let the kids take turns aiming the water pistols at the canvas and spraying the diluted paint onto it. They can experiment with different techniques, like spraying from a distance for a fine mist or getting closer for more concentrated splatters.
Encourage kids to explore their creativity by layering colors, creating patterns, or even collaborating on a larger artwork together. Once the painting is complete, allow it to dry.
Nature Collages
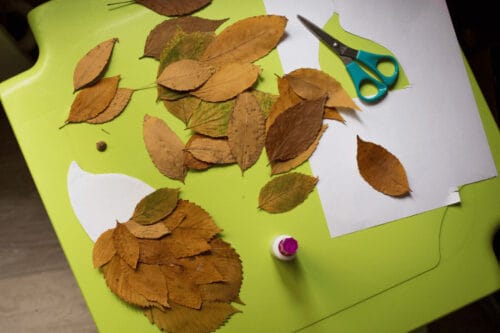
Leaves and flowers have all kinds of cool textures and shapes, and finding ways to use them creatively is half the fun!
Start with a nature walk to gather your materials. Look for a variety of colors, shapes, and textures. Collect leaves, twigs, flowers, grass, and other natural items. Look for items that have already fallen to the ground
Before you start gluing, arrange your materials on your cardboard or canvas to create your design. You might want to create an abstract pattern, a specific scene, or even a ‘portrait’ using different materials. This is the time to play around and get your design just right. Once you’re happy with your design, begin to glue your items down one at a time. Start from the bottom layer and work your way up. Use enough glue to make sure the items will stick, but not so much that it makes the materials soggy or the cardboard warp.
Allow your collage to dry fully. This can take a few hours or even overnight, depending on the thickness of your glue and the weight of the items you’ve used. If you’d like, you can use paints or markers to add more details or decoration to your collage. You could paint the background before you start, add details after your items are glued, or even paint or decorate some of the items before you glue them down.
Friendship Bracelets
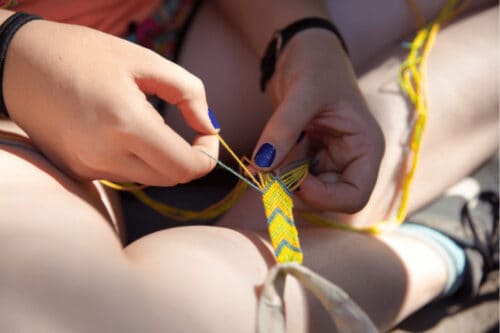
Taylor Swift’s latest Eras tour has brought a resurgence of friendship bracelets, and we’re all about it, especially since they make great camping craft projects.
Start by selecting colorful embroidery floss or yarn in your desired colors. Cut multiple strands, usually around 60 inches long, and tie them together in a knot at one end. Secure the knotted end to a fixed point, such as a safety pin attached to a cushion or your jeans, to keep the bracelet stable while you work.
Divide the strands into groups and begin braiding or knotting them together, using various techniques like traditional braiding, chevron, or macramé knotting. You can find tutorials online for specific patterns and designs. Continue braiding or knotting until the bracelet reaches the desired length. Once finished, tie a knot at the end to secure the strands and trim any excess material.
Tin Can Lanterns
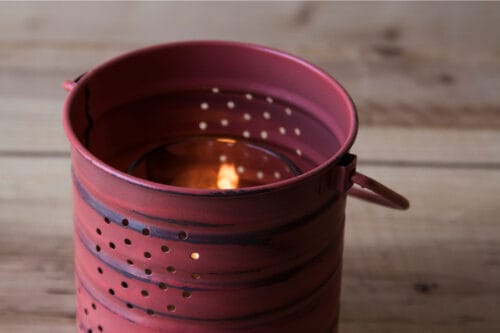
Instead of lighting up your campsite with string lights, try this DIY project!
In the weeks leading up to your camping, save and wash various sizes of tin cans. To keep the cans from getting dented in when you make the design, it works well to fill them with wet sand and freeze for several hours.
Now, you’re ready to plan your design. Draw each design on paper, and then attach it to the can with rubber bands. Use a hammer and nails to punch holes following the design. You might want to have more than one size of nail for details.
Spray the cans with spray paint and let them dry. We used black chalkboard finish spray paint. Add an LED tealight and let your lanterns illuminate your campsite!
Leaf Printing
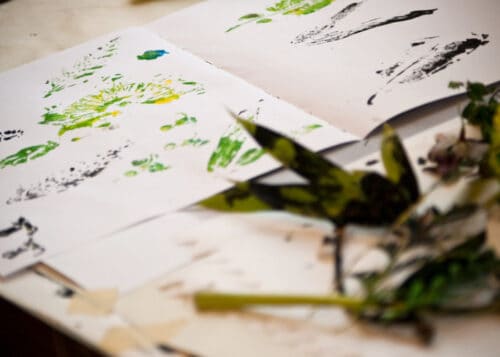
Leaves have such beautiful patterns, and there’s no better way to capture them than with a colorful leaf printing craft.
Start by collecting a variety of leaves with interesting shapes and textures. Make sure they are clean and dry. Apply a thin layer of paint onto the underside of a leaf using a brush or a sponge. Choose colors that contrast well with the paper or fabric you’ll be printing on.
Carefully place the painted side of the leaf onto your chosen surface—such as paper, fabric, or a canvas—pressing it gently but firmly. Ensure the leaf is fully in contact with the surface. Peel the leaf off the surface, revealing a beautiful leaf print. Repeat the process with different leaves and colors, overlapping or arranging them to create unique patterns and designs.
Twig Picture Frames
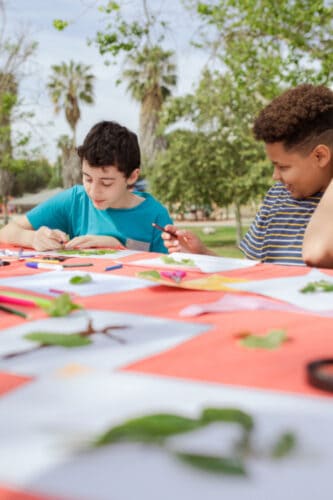
Crafting with natural materials is a lot of fun, especially since a trip to the craft store can be so expensive these days! For these nature-inspired crafts, you only need a few materials. You can even use the frame to display a picture of one of your favorite camping memories.
Gather small twigs or sticks of similar lengths and thicknesses. Ensure they are clean and free from any dirt or loose bark. Arrange the twigs into a square or rectangular shape, overlapping the ends slightly to create corners. You can trim the twigs to fit the desired size.
Use twine, thin wire, or a strong adhesive to secure the twigs together at the corners. Wrap the twine or wire tightly around the intersecting points or apply glue to hold them in place. Once the frame is secured, let it dry or set for a few minutes if using glue. You can then insert a favorite photo or artwork into the frame, securing it with tape or small clips.
Macrame Keychains
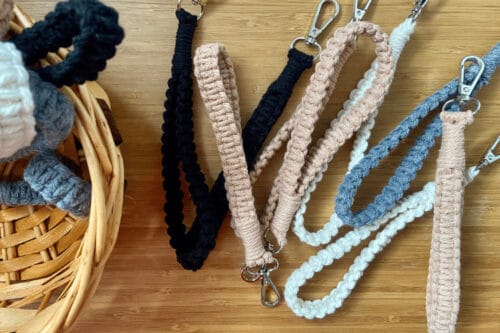
Channel your inner ’70s kid! Learn basic macrame knots and create keychains using colorful cords or strings. You can experiment with different patterns and add beads or charms for extra flair!
Start by cutting a long piece of cord or string, approximately 3-4 times the desired length of your keychain. Fold it in half and find the midpoint. Take the folded midpoint and create a loop at the top, leaving a small tail. This will be the attachment point for your keyring.
Begin making knots using the two strands of cord. You can use various macrame knots, such as square knots, spiral knots, or half-hitch knots. Continue knotting until you reach the desired length for your keychain. Once you’re satisfied with the length, gather all the cords together and tie a secure knot at the bottom. Trim any excess cord, leaving a small tail.
Nature Wind Chimes
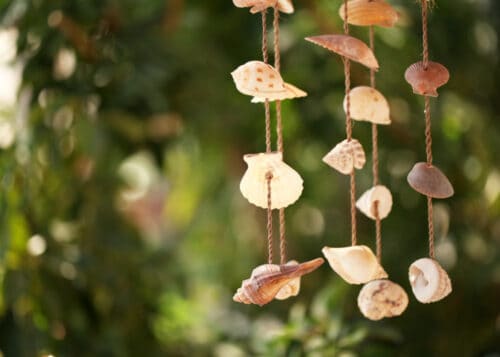
Okay, so “chimes” might be an exaggeration; perhaps “mobile” might be a better descriptor. Either way, it’s fun to hear the different ways the wind moves through the objects you use.
Collect interesting objects from nature, such as small sticks, seashells, bottle caps, or colorful rocks. Ensure they are clean and dry. Attach your chosen objects to a sturdy branch or a metal ring using string, fishing line, or small metal hooks. Space them out evenly to allow for movement and create a sound when the wind blows.
Consider incorporating different lengths of string or fishing line for each object to create a varied sound effect. Once all the objects are attached, find a place to hang your wind chime where it can catch the breeze, like a tree branch, porch, or tent.
Get Crafting in the Great Outdoors!
Camp crafts bring back a lot of nostalgic memories–whether that’s singing camp songs, eating in the mess hall, or all the fun, adventurous activities. Fortunately, camp crafts don’t have to be a distant memory–they can live on as you share these creative outdoor activities with the people you love on camping trips. Happy crafting!
