Your Big Day on a Budget: Tips for DIY Wedding Flowers
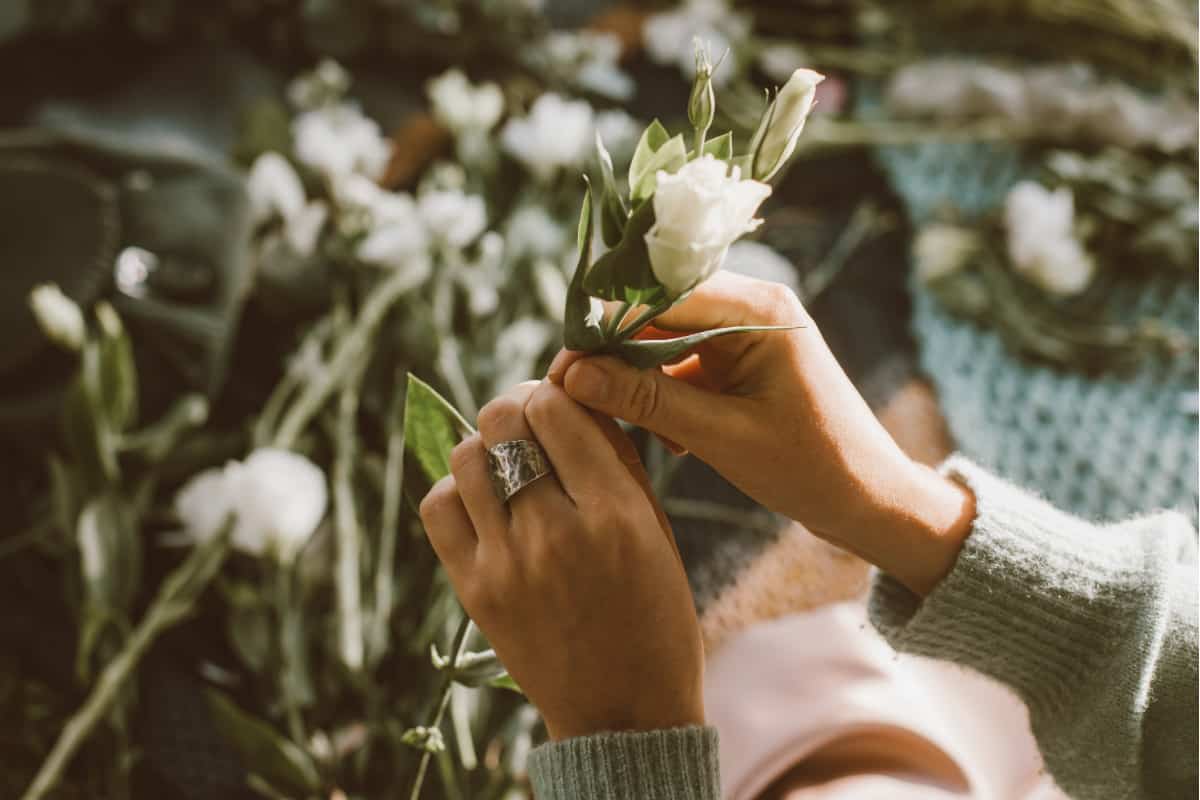
Calling all DIY brides! Whether you’re making your own wedding bouquet or going the DIY decor route, check out these tips for how to plan, organize, arrange, and execute DIY wedding flowers.
Tips for DIY Wedding Flowers
Weddings are expensive. For a lot of couples, it’s important to pick and choose what you’d like to prioritize in your budget. With the complications of COVID-19, many couples have opted for a smaller, do-it-yourself event. Luckily, with access to wholesale floral shops and beautiful supermarket flowers, DIY wedding flowers have never seemed more do-able.
However, as easy as Pinterest can make it seem, there’s a lot more that goes into wedding florals than meets the eye. I learned that the hard way on the first wedding I did. Here are some tips that I learned from doing wedding flowers for friends.
1. Set Clear Expectations on Who Is Doing What
If you ask a friend or family member to arrange the flowers for you, have a clear expectation set of what you’d like the flowers to look like. If you don’t care (and I mean REALLY don’t care), all the better. Florists are trained with years of experience in how to make a vision into an expertly-crafted reality. You, your friends, and your relatives are not. If you’re asking a non-expert to arrange, don’t expect expert-level florals. You should also plan for who is bringing the flowers to the venue on the wedding day and what is happening with them afterward. The bridal party and guests are often willing to take home bouquets and centerpieces to decorate their homes, but you have to let them know that’s the case.
2. Have the Wedding Party Help
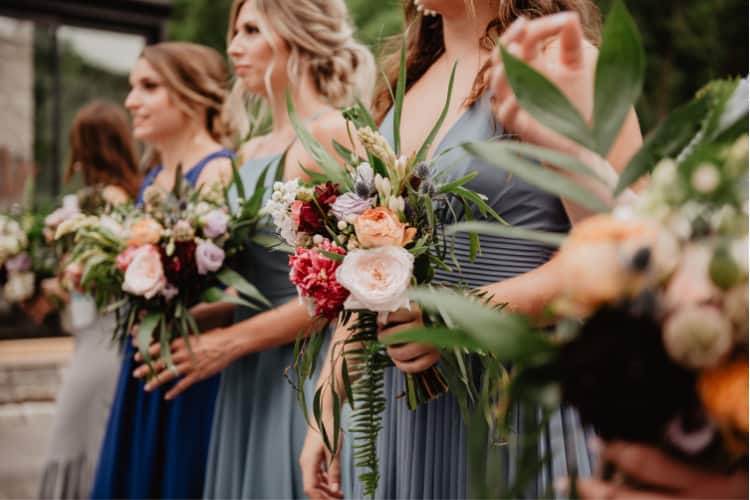
If you’re the bride, you’ll have a lot of things on your plate on the big day. Anything you’re willing to delegate to someone else, you should. One of the newest trends is having their bridesmaids put together their own bridesmaid bouquets the night before. This expedites the process and can be a great way to bond with your friends. Again, you have to be pretty laid back with this one unless you have a wedding party full of florists. Set realistic expectations, allow them to follow through, don’t criticize, and have fun!
3. Set a Budget and Stick to It
If you’re doing the flowers yourself, you’re probably sticking to a pretty tight budget. If you’re looking for the best bang for your buck, stick to seasonal blooms. It’s the out-of-season stems that will run up the bill.
4. Pick a Realistic Timeline
This is what bit me in the butt while prepping for the first wedding I helped with. I waited to pick them up, prep them, and arrange them the day before the wedding. Sadly, as the informal florist and also a bridesmaid, I had to miss all the fun that was happening the night before the wedding because I was up all night arranging flowers. Rookie mistake. It always takes longer than you think it will. Set a schedule based on how many people you have and the extent of the preparations.
The ideal timeline? As a general rule, I pick up the flowers and prep them 2 days before, store them in buckets of water, then arrange the day before. Arrange the corsages and boutonnieres last because they have to be stored in the fridge without water, so they have a shorter shelf life.
Note: There are also certain kinds of flowers, like dahlias, that have a shorter vase life. You may want to pick up and use those kinds the day before. Also, most cut flowers like to be stored in cold water, but some (like roses) like lukewarm water. Choosing the right temperature will help them last longer.
5. Make Sure You Have Storage Space
You’ll need plenty of buckets and space to store your flowers until the big day (I used 10 for a mid-sized wedding). You’ll also need fridge space for boutonnieres and corsages. Just don’t forget them in there when you leave for the wedding…like I did once.
6. Have Realistic Expectations on What DIY Wedding Flowers Will Look Like
We’ve all seen what those Pinterest people are capable of. Immaculate centerpieces and bouquets were probably done by a florist and their team. Crazy and out-of-season flowers that probably cost thousands and thousands of dollars. But if you’re reading this, odds are that you aren’t a florist with 10+ years of experience and a team of helpers. I’m sure you have plenty of strengths, and you may even have a gift for the arts. But also know if you’re not a professional, don’t expect professional-level florals.
Where to Order or Buy DIY Wedding Flowers:
- Costco
- FiftyFlowers.com
- Wholesale florists
- Trader Joe’s
- Harris Teeter
- Kroger
- Flower markets
The inside scoop: I also used to be an assistant to a wedding planner (who also happens to be Classic Casual Mom on the Street Jacklyn Launi), so I’ve seen plenty of little wedding hacks along the way. One of the ones I thought was pretty genius? If you really want to have a floral wedding arch but don’t have the resources or manpower to make that happen, use fake flowers. No one will know the difference, because no one will be close to them except you and the wedding party. They’ll turn out just as beautiful in pictures, and you never have to worry about storage or potential wilting before the ceremony.
What Do I Need for My DIY Wedding Flowers?
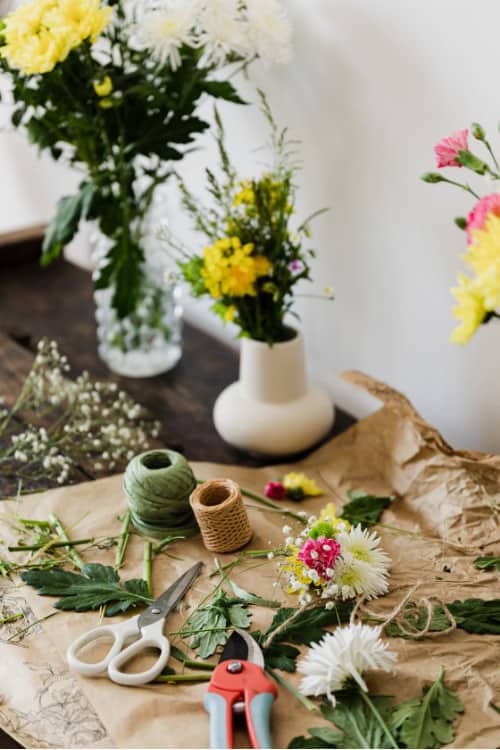
The cost of florals can quickly add up when you consider the odds and ends. Besides the fresh flowers and greenery, you can get everything you need at a local craft store.
- pins (I like the pearl-tipped ones)
- floral tape
- floral foam (optional for certain kinds of centerpieces)
- vases (don’t be afraid to venture to your local thrift shops)
- floral shears
- floral wire
- ribbons
- Floralife Crowning Glory Solution
How to Prep Flowers for a DIY Wedding
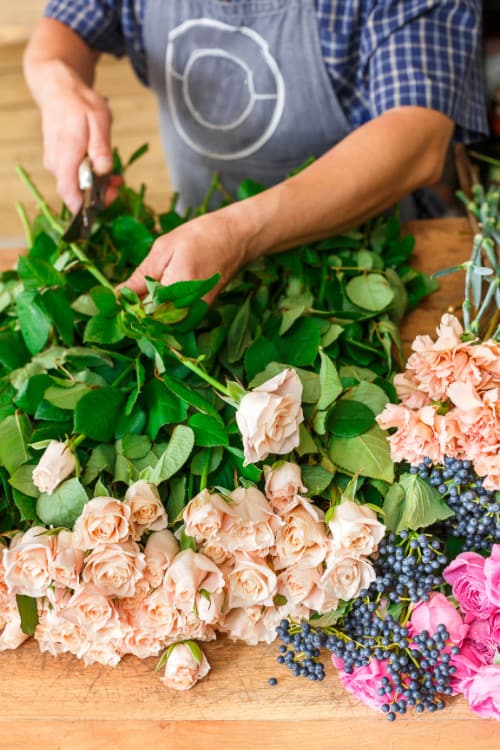
You’ll want to angle-cut about 3 inches off the stems when you unwrap the flowers and greenery. If you have roses, check and see if they have thorns. You may have to budget some time for de-thorning. Unless you have a de-thorning tool, it may mean you have to pull them off one-by-one. Remove any excess leaves from the flowers that you wish. Fill buckets with water and add your cleaned flowers and greenery to the bucket to store until you’re ready to arrange.
Arranging Your DIY Wedding Flowers
These tips are primarily for wedding bouquets and arrangements, but here’s a tutorial on corsages and boutonnieres.
1. Start Small
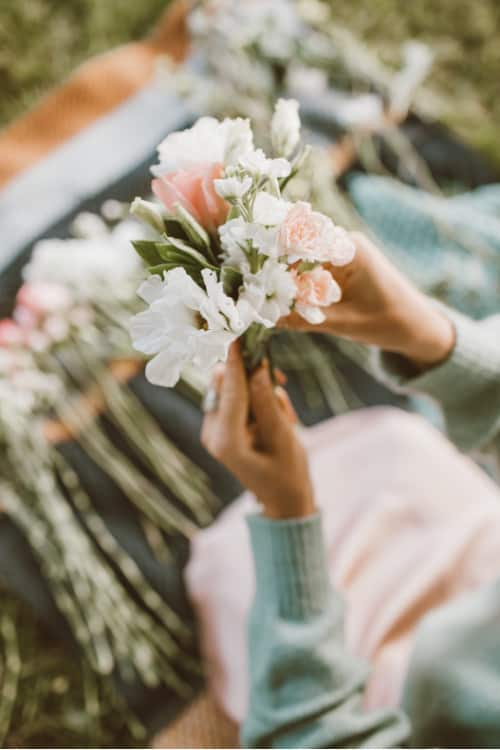
I like to start with a small bundle of greenery like silver dollar eucalyptus, baby’s breath, heather, ferns, or Italian Ruscus. I learned a lot of what I know about floral arranging from my dad (and a big shoutout to Sharon Williamson, too!), and his secret trick? He goes foraging in our backyard for greenery sometimes. A true DIY experience, right?
2. Add Larger Flowers
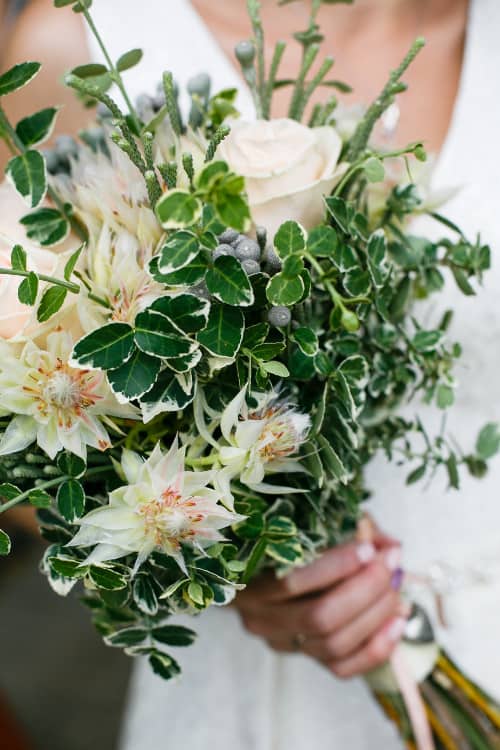
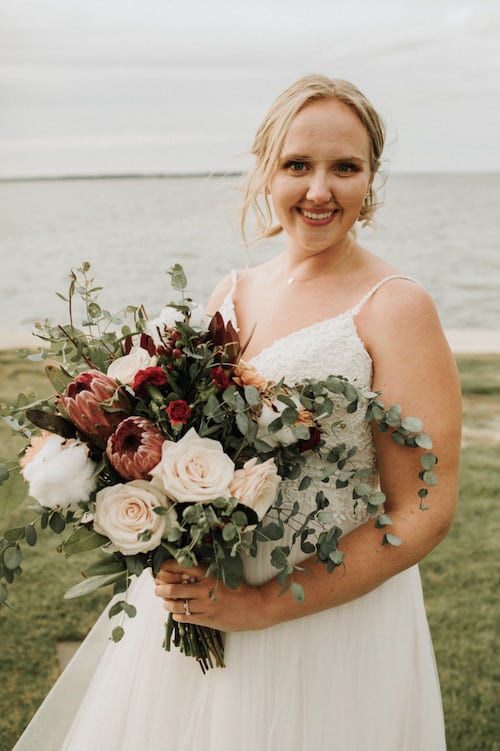
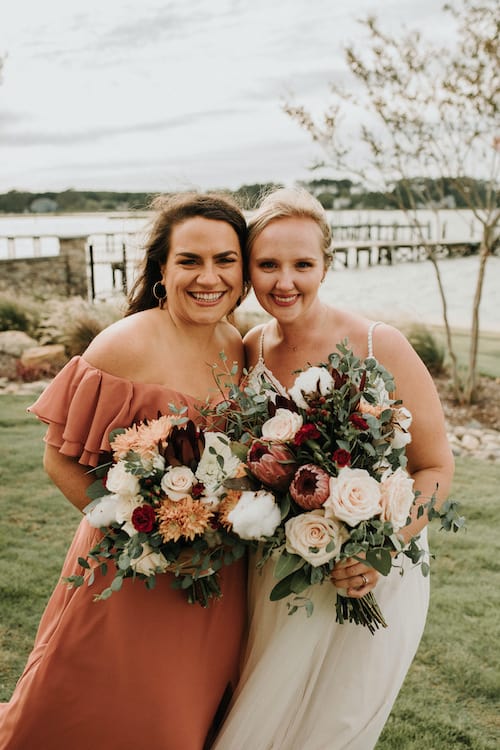
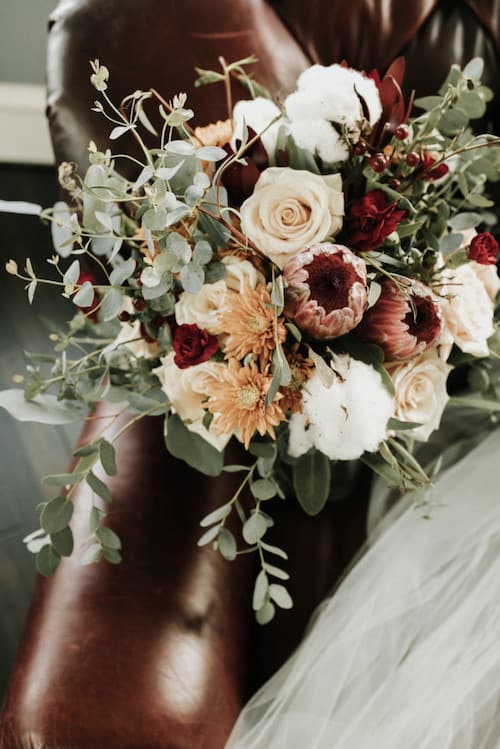
Once you have a small starting bundle, begin adding your larger flowers. Keep the focal flowers sitting high. I have a bad tendency to drop them lower, but you want them to shine. My dad likes to use the rule of threes when it comes to flowers in bouquets and centerpieces, but that’s where he and I differ (An engineer vs. a writer, who would’ve thought?). What’s particularly trendy these days is the larger, overgrown look. So, adding just one or two larger statement flowers can be a fun way to give that feel.
3. Alternate
Alternate between filler flowers and larger flowers. Some of my favorite filler flowers include English lavender, hypericum berries, white waxflower, astilbe, and of course, the classic baby’s breath.
4. Trim and Store
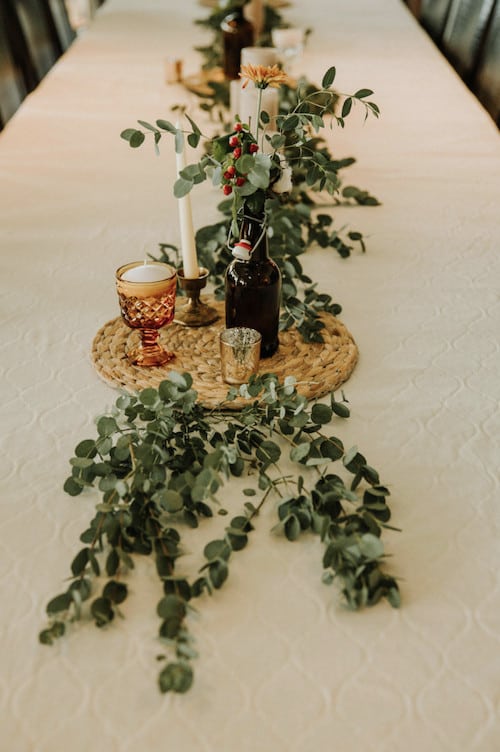
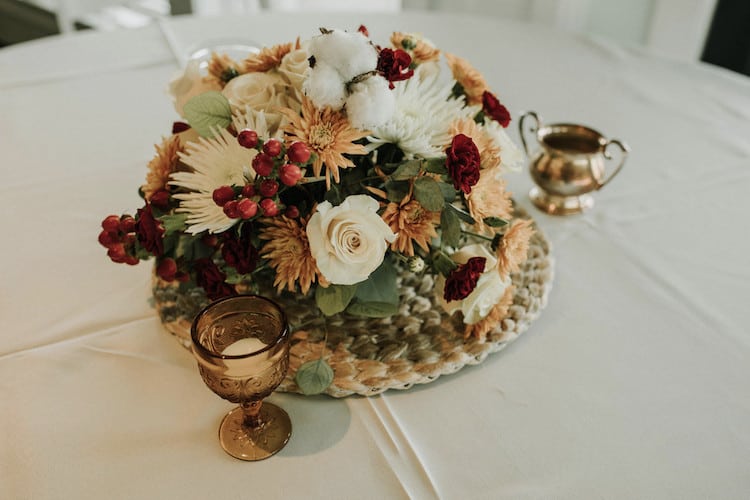
Once you have everything arranged the way you like, cut all the stems, so they’re the same length. This is up to your own personal taste, but a good rule of thumb is 7-8 inches long. If these arrangements are wedding centerpieces, place them in a glass vase or container filled 1/3 of the way up with water. Optionally, you can spray with Crowning Glory to keep the flowers fresh. Transport the arrangements to the wedding venue in a box with dividers (I’ve used wine boxes before). If they’re bouquets, proceed to the next steps.
5. Finishing Touches for Bouquets
For the bridal bouquet and bridesmaid’s bouquets: Beginning 2/3 us the way up the stems, start tightly wrapping the stems with green floral tape. You want the flowers completely secured, so more is better. Wrap them to about 3/4 of the way from the bottom. Cover the floral tape with ribbon. I usually use white satin, but there are plenty of other colors/materials you can use. Secure the ribbon with two pins. Make sure they’re stuck into the tape/ribbon and don’t poke out anywhere. We don’t want to stab the bride.
6. Transport
Transport your bouquets to the venue in secure boxes. Keep the flowers in vases of water until you’re ready to walk down the aisle. Don’t forget to dry off the stems beforehand!
Go With the Flow(ers)
I hope this helps, and remember– it’s not about the flowers! It’s about enjoying your big day and celebrating with the people you love. But having pretty floral arrangements is nice, too. Share pictures of your finished wedding flowers with the people you love on FamilyApp!
