Fun and Creative Easter Egg Designs You’ve Got to Try!
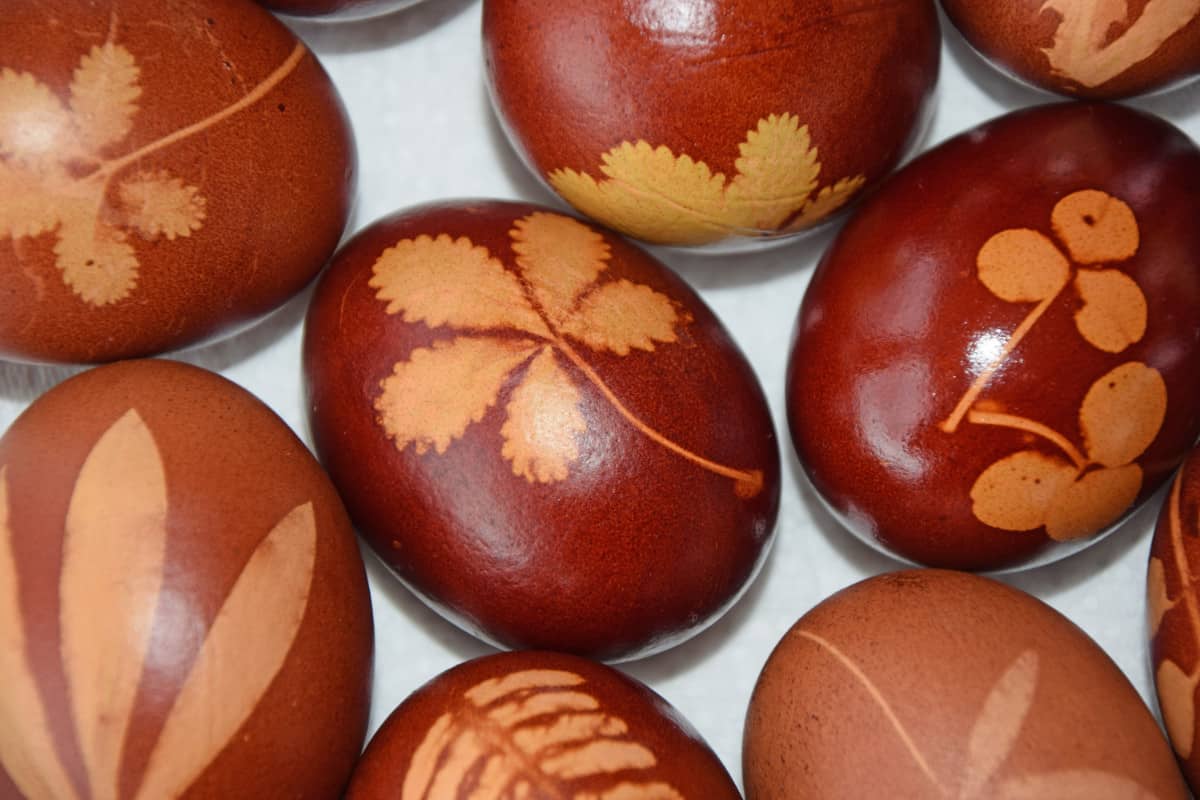
Get ready for an egg-decorating eggstravaganza! We’ve got plenty of ideas for DIY Easter egg designs so the whole family can decorate together!
*As an Amazon Associate, we earn from qualifying purchases.*
A Family Easter Egg Event
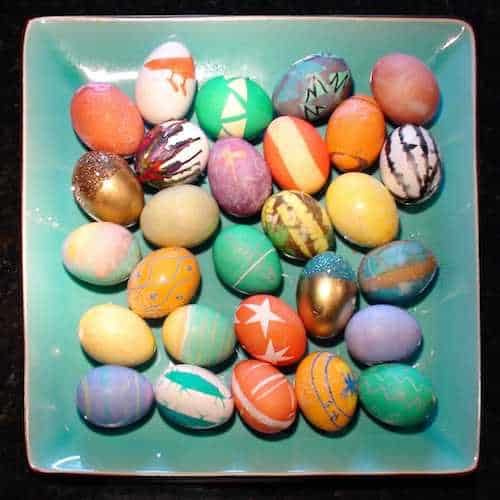
With my family, Easter egg decorating is no yolk…I mean joke. We take it very seriously. There are winner eggs, and there are loser eggs, and you better hope you make a winner. Otherwise, it may not be displayed in the coveted spot in the display bowl as a decoration. The display lasts way past Easter. In fact, I think we still have decorated eggs from 3 years ago.
In terms of rules? Well, there isn’t a lot. Dye, of course, is the primary medium. But how you manipulate the dye is up to you. And it isn’t an official rule, but you’re typically not supposed to use the stickers or shrinkwraps that come with the box dyes. Some of our primary decorating methods include scotch tape (or washi tape), crayons, and rubber bands. But some years, glitter gets involved. And so do paper towels, glue, and extra fine-tipped pens. One of my favorite looks was the eggs that looked like they’d been dipped in glitter. One year, I think my brother got a mini blow torch involved, but that’s a story for another time.
While your family may not be as competitive as mine, you may be looking for some fun ways to step up your game and bring some color to your easter baskets. Among the candy and treats that the Easter Bunny brought, we’d always find our prettiest dyed easter egg nestled among the crinkle grass.
What Can I Use to Dye Easter Eggs?
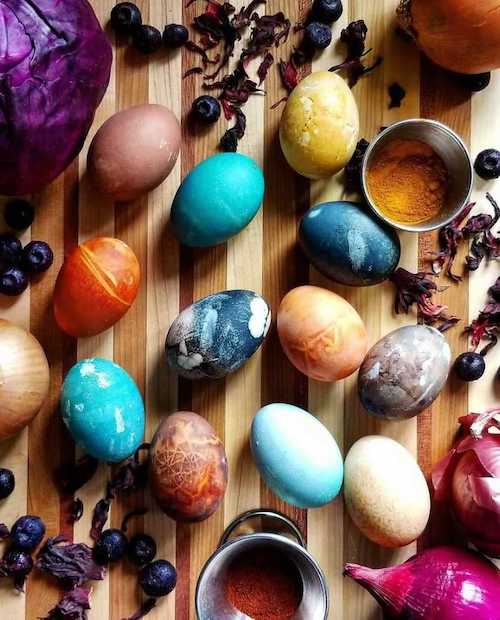
Did you know that you don’t have to use Paas tablets to dye your Easter eggs? There are many different ways you can get beautiful colors onto eggs. Natural dyes may take a bit longer to get that bright pigmentation, but they can make much more natural-looking hues. Materials for natural dyes on white eggs include purple cabbage (blue), red onions (lavender), yellow onions (orange), beets (pink), turmeric (yellow), and red zinger tea (lavender).
You can also use Kool-Aid to get plenty of different colors. And you probably have a couple of loose packets of that stuff lying around. Who knew it could be so versatile?
Tips for Dying Easter Eggs
- Prepare a clean, open space for your decorating with adequate table protection. We usually clear off the dining room or kitchen table and tape newspapers to it. While it can be good to stay organized, my dining room table tends to become a beautiful mess of easter egg decorations. Everyone shares the materials, and while it’s a competition, it’s a group effort. It’s a constant “Can you pass the tape?” “Has anyone seen the blue dye?” and “Where are those tiny scissors? Can I have them when you’re done?” Get the whole family involved in the decorating process and
- Choose your base. While my house uses hard-boiled white chicken eggs, you can also use wooden eggs. This can be helpful, particularly with young kiddos. Although I will say, I learned a lot of patience as a young child when I dropped the egg I’d been meticulously working on for the last hour. It built a lot of character. I may or may not still be bitter about the 2013 easter egg dying incident.
- Choose your medium: Whether you’ve got a specific vision in mind or you’re open to experimenting, collect all the egg decorating materials you think you’ll need (see below for ideas). Eggs and dye are a must, but also consider where you’ll put the eggs while they’re drying. We like to elevate them so the excess dye doesn’t pool when they’re drying.
Easy Easter Egg Designs
Marbled Easter Eggs
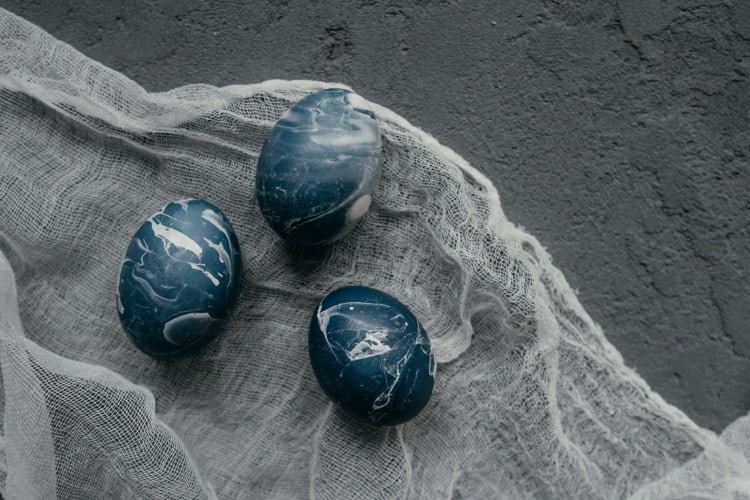
To get the marbled effect, the process is really easy. You just dip your eggs in food coloring and water to dye them, then dip them again in olive oil and colored water solution to marble them! It’s so simple, and the effect is gorgeous!
Paint-Splattered Eggs
All you need to do is squirt some paint into a little bowl and add about a teaspoon of water. If you try and splatter the paint without adding water, it will just stick to your brush. Be careful not to add too much water, though. Otherwise, the paint will get too watery and will run down the sides of your eggs.
Hand-Painted Eggs
This is for the truly ambitious of us. While you can use hard-boiled eggs, since this is such a big task, you may want to consider using craft paint on wooden eggs so you can keep your creations forever! White intricate hand-painting with craft paint or paint pens is for the older kids and adults, and younger kids can have a blast with paintbrushes and dye (or watercolors).
Egg-mazing
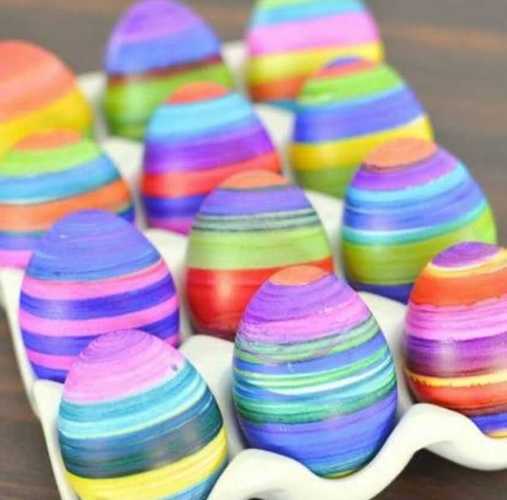
This is the first I’ve heard of this product, and I just had to include it! It creates this beautiful line effect on the eggs, similar to using a potter’s wheel. Check out the photo below!
Monochrome Easter Egg Designs:
If you want to go the minimalist route, sometimes a simple look with white eggs and a thin-tipped black sharpie can be all you need for a simple and elegant black-and-white look. You can do intricate designs or even basic patterns.
Intermediate Easter Egg Designs
Tie-dyed eggs
These are so stinkin’ simple! All you need is food coloring, paper towels (or coffee filters), a spray water bottle, small elastic bands/twist ties, and a table fan. Rip apart the paper towels into small sections and place your hard-boiled egg in the middle. Bunch up the paper towel around the egg to completely cover it. Twist the end as tightly as you can and secure it with a tiny elastic or a twist tie.
Put on some rubber gloves and squeeze drops of food coloring directly onto the paper towel. You don’t have to leave space, but it helps to keep the colors from completely mixing. Take your spray bottle of water and squirt a small amount of water into the middle of each of the food coloring drops. Keep spraying until the paper towel is completely colored. Gently squeeze the egg over the sink to make sure the colors on the paper towel transfer to the egg underneath. Set the eggs in a glass dish or on a baking sheet to dry. You can point a table fan directly, and they’ll dry in about 3 hours. Otherwise, leave them overnight to dry.
Tissue Paper Eggs
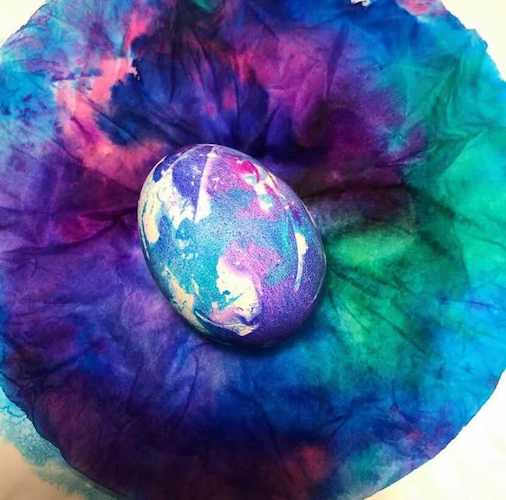
The best part about tissue transfer eggs is that you get beautiful vibrant colors without cups of dye water just waiting to be spilled, AND kids can decorate them independently. The process is easy – you just need tissue paper and a spray bottle of water – but there is one important thing: you have to use “bleeding” tissue paper – the cheap stuff from the dollar store won’t work. Try this kind from Amazon. Start by cutting some tissue paper up into 1-2 inch pieces. Spray a hardboiled egg with water. Lay pieces of tissue on the egg, layering until completely covered, then give it one more spray. Set it aside for about 10 minutes while you work on other eggs. At the end of 10 minutes, the paper will be mostly dry. Peel it off to reveal your colored egg.
Chinoiserie Easter Eggs Designs
This no-dye idea is great for an Easter centerpiece and will have little to no mess. All you need is some pretty chinoiserie napkins, matte mod podge, scissors, and white craft eggs. Glue the napkins to the egg with Mod Podge, then layer more glue on top. They make beautiful Easter decor, especially in a simple bowl on the kitchen counter.
Expert Easter Egg Designs
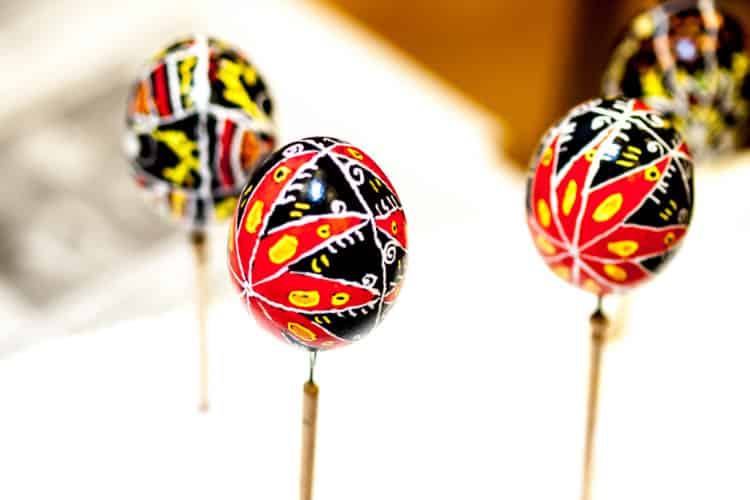
Pysanky Eggs
When my dad traveled to Ukraine, he brought back some of these beautifully hand-crafted one-of-a-kind eggs with intricate designs and beautiful colors. However, these may take a little more materials and time than your typical eggs. They require a special tool called a kitska along with beeswax. It takes some practice and a steady hand, but You can purchase a kitsky set, wax, and hyper-pigmented color packets on Amazon.
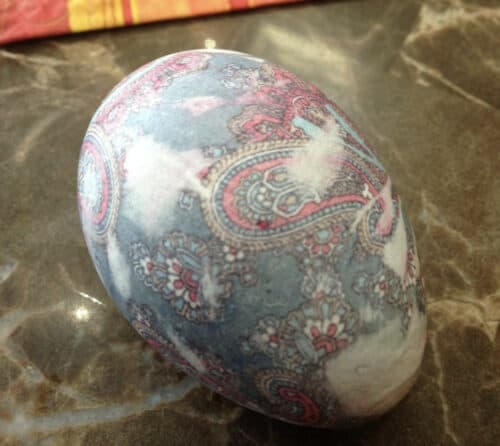
Silk-dyed Easter Eggs
I’m always looking for an excuse to go to the thrift store, so needless to say, this method is next on my list. It’s also a great way to suggest to your husband that it may be time to say goodbye to that one tye in favor of some…err…newer inventory. Cut pieces of 100% silk large enough to cover an egg. Wrap as smoothy and tightly around the egg as possible, with the right side of the fabric facing in, and secure with a twist-tie.
Repeat the process, but wrap with a plain piece of lightweight fabric, like an old white pillowcase or sheet. Place eggs in a large pot and cover with water at least 2 inches above eggs. Add 1/4 cup white vinegar. Bring to a boil and reduce to simmer. Simmer for 20 minutes and then remove eggs and lay them (still wrapped) on layers of paper towels or an old dishtowel. Let cool to room temperature, and then remove the fabric wrappings. Store in the fridge until ready to display. If desired, rub with a small amount of vegetable oil for shine.
Cascarones
A cascarón is a hollowed-out egg filled with confetti or small toys. Cascarones are common in Mexico and are similar to the Easter eggs popular in many other countries, and you can appreciate this fun cultural tradition, too! To hollow out an egg, simply wash and dry your eggs. Then taking a thin needle, carefully poke a hole at each end of your egg. Cover the holes and shake the egg. Place your egg over a bowl or other container and gently blow into one of the holes in your egg.
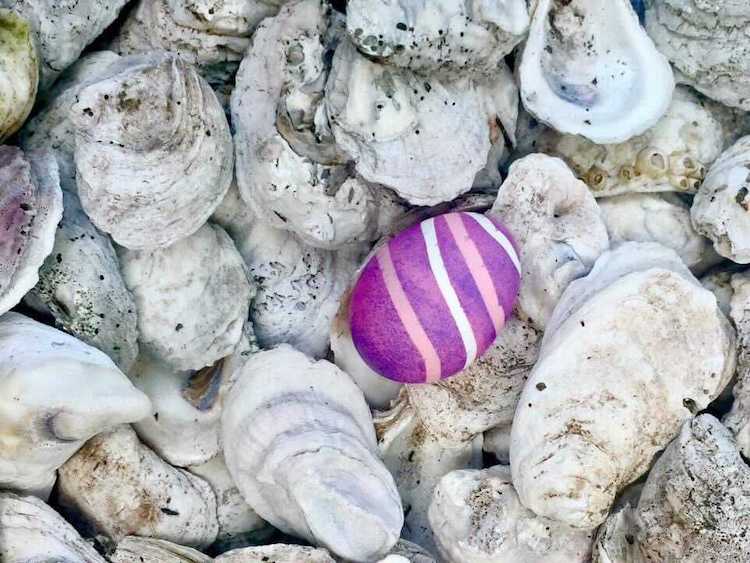
Tape
Tape is my family’s go-to medium. Scotch tape works best for my family. We like to cut it into geometric shapes and place them on the egg where you don’t want the dye to permeate the egg’s surface. You can so use Washi tape to make no-dye Washi tape eggs!
Get Eggcited About All These Easter Egg Designs!
Which of these ideas for DIY Easter Eggs was your favorite? Which ones would you like to try? I know that my family will have no shortage of ideas to choose from this year. Whether you keep it simple or turn it into a decorating extravaganza, be sure to share pictures of your favorite Easter Egg creations with the people you love on FamilyApp!
