Growing Microgreens at Home in 5 Easy Steps

Have you ever wanted to try gardening but thought you didn’t have enough room? With microgreens at home, you can get your garden growing with a tray and a little sunlight!
Gardening is a popular hobby for many people, but it can take a lot of time and a lot of space! If you don’t have a garden or balcony, growing microgreens at your home can be an ideal option. It’s especially perfect if you’re a gardening novice because the process is easy, from planting to germination. But the best thing is, they’re a healthy and delicious addition to a salad or side dish! All you need is a few supplies to grow your own greens inside your flat.
What Are Microgreens?
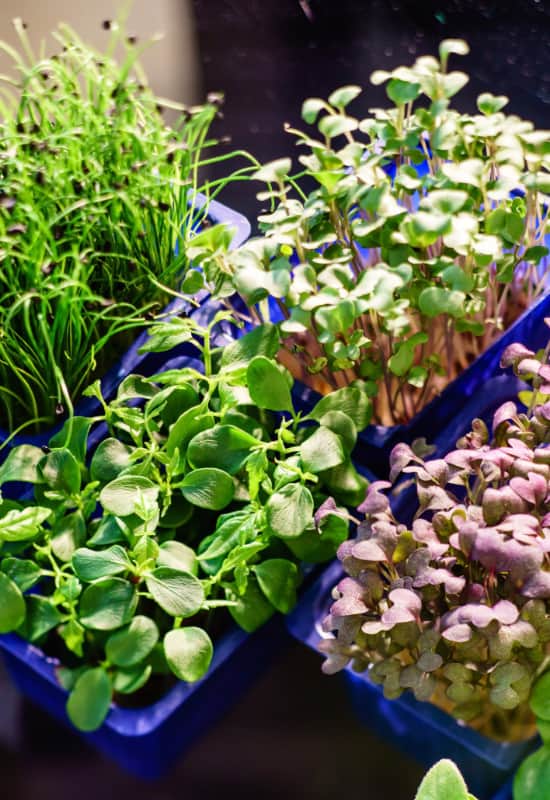
Microgreens are defined as a small plant of greens or herbs that is a rich source of nutrients. Because of their size, you can grow them at home where soil and open-air ensures bacteria won’t grow. With this type of vegetable or herb, people usually consume both the stem and the leaves.
There are many different greens out there that can be used in salads, garnish, or in your favorite dish. However, the most popular varieties are lettuce, arugula, kale, spinach, beet, broccoli, and herbs. Share the greens you love to grow on FamilyApp!
How to Start Growing Microgreens
Growing your own healthy microgreens at home is an easy way to boost your meal plan. Get started today with just a few simple steps!

1. Get Your Supplies for Growing Microgreens
In order to get microgreens benefits, you’ll need to start with growing trays. While you can use any simple plastic tray, there must be holes present for drainage. Your tray doesn’t need to be more than an inch deep.
A 30-watt light that gives your greens 4-8 hours of light per day and a watering can are also important. Once you’ve got these items, you can get soil and seeds for your planting!
2. Prep Your Planters
Prepare your growing trays by making sure they are clean and completely dry. You can then fill them with your potting soil in an even layer. If your microgreens seeds are large or hard, soak them overnight before planting. Once ready, spread them over your soil and cover them with more soil. Press down on the seeds so they will make contact and more easily germinate!
3. Water Your Microgreens Regularly
If you have a moisture dome, cover your tray, or stack them if you’re using stackable trays. You’ll want to water your microgreens containers every one to two days so that they stay moist without being wet.
Drainage holes can also come in handy! Instead of spraying, these will allow you to water from the bottom, so moisture will be absorbed as needed. All you have to do now is wait for your seedling!

4. Crop Your Greens
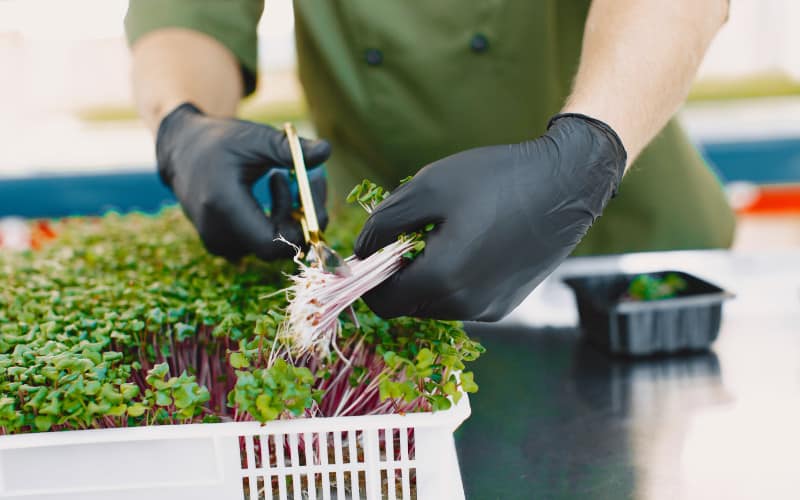
Once your greens begin to sprout and develop true leaves, you’ve got your microgreens! That means it’s time for a little bit of harvesting. This usually takes place ten to fourteen days after seeding.
Be sure to use scissors and cut your greens above the soil. This way, you won’t have to wash them as this will shorten their shelf life. It also means that your plant will keep growing and providing you with great greens. Share your harvesting tips on your favorite family app!

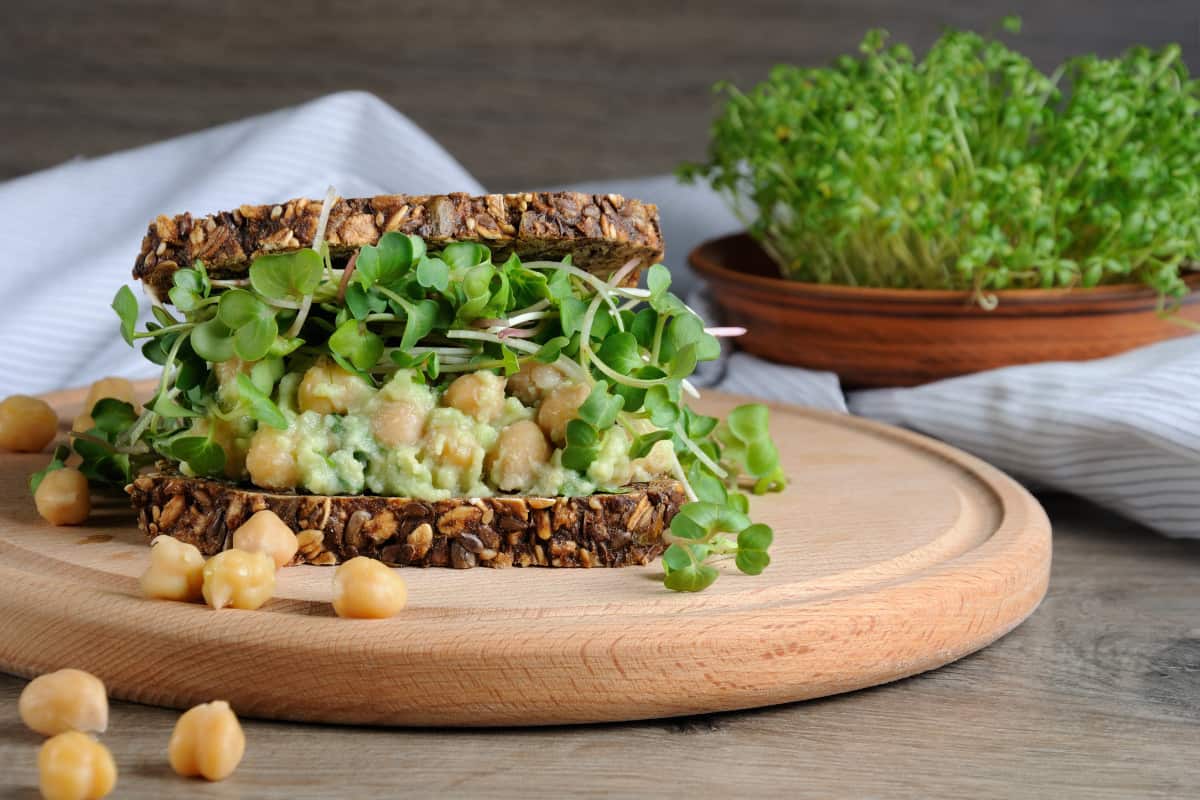
Avocado Toast With Microgreens
Ingredients
- 2 pieces toast
- 1 ripe avocado
- 1 cup microgreens
- 1 pinch salt
- 1 pinch crushed red pepper
- drizzle balsamic glaze
Instructions
Avoado Toast With Microgreens
- Cut avocado in half and scoop out the inside. Sprinkle with a pinch of sea salt and smash with a fork.
- Spread avocado on warm toast.
- Top with microgreens and sprinkle with a pinch of crushed red pepper. Finally, drizzle with balsamic glaze. Add other toppings as desired.
Notes
Nutrition
5. Store the Microgreens Correctly
When your greens are ready, you can store them by placing the stems in some water in the fridge. They may not last long, but they’re a great way to boost your meal plan from your own at-home garden!
Do you have any microgreens for beginners’ tips to share? Tell other users about them in our comments! It doesn’t take much time or too many supplies to get started on your growing.


